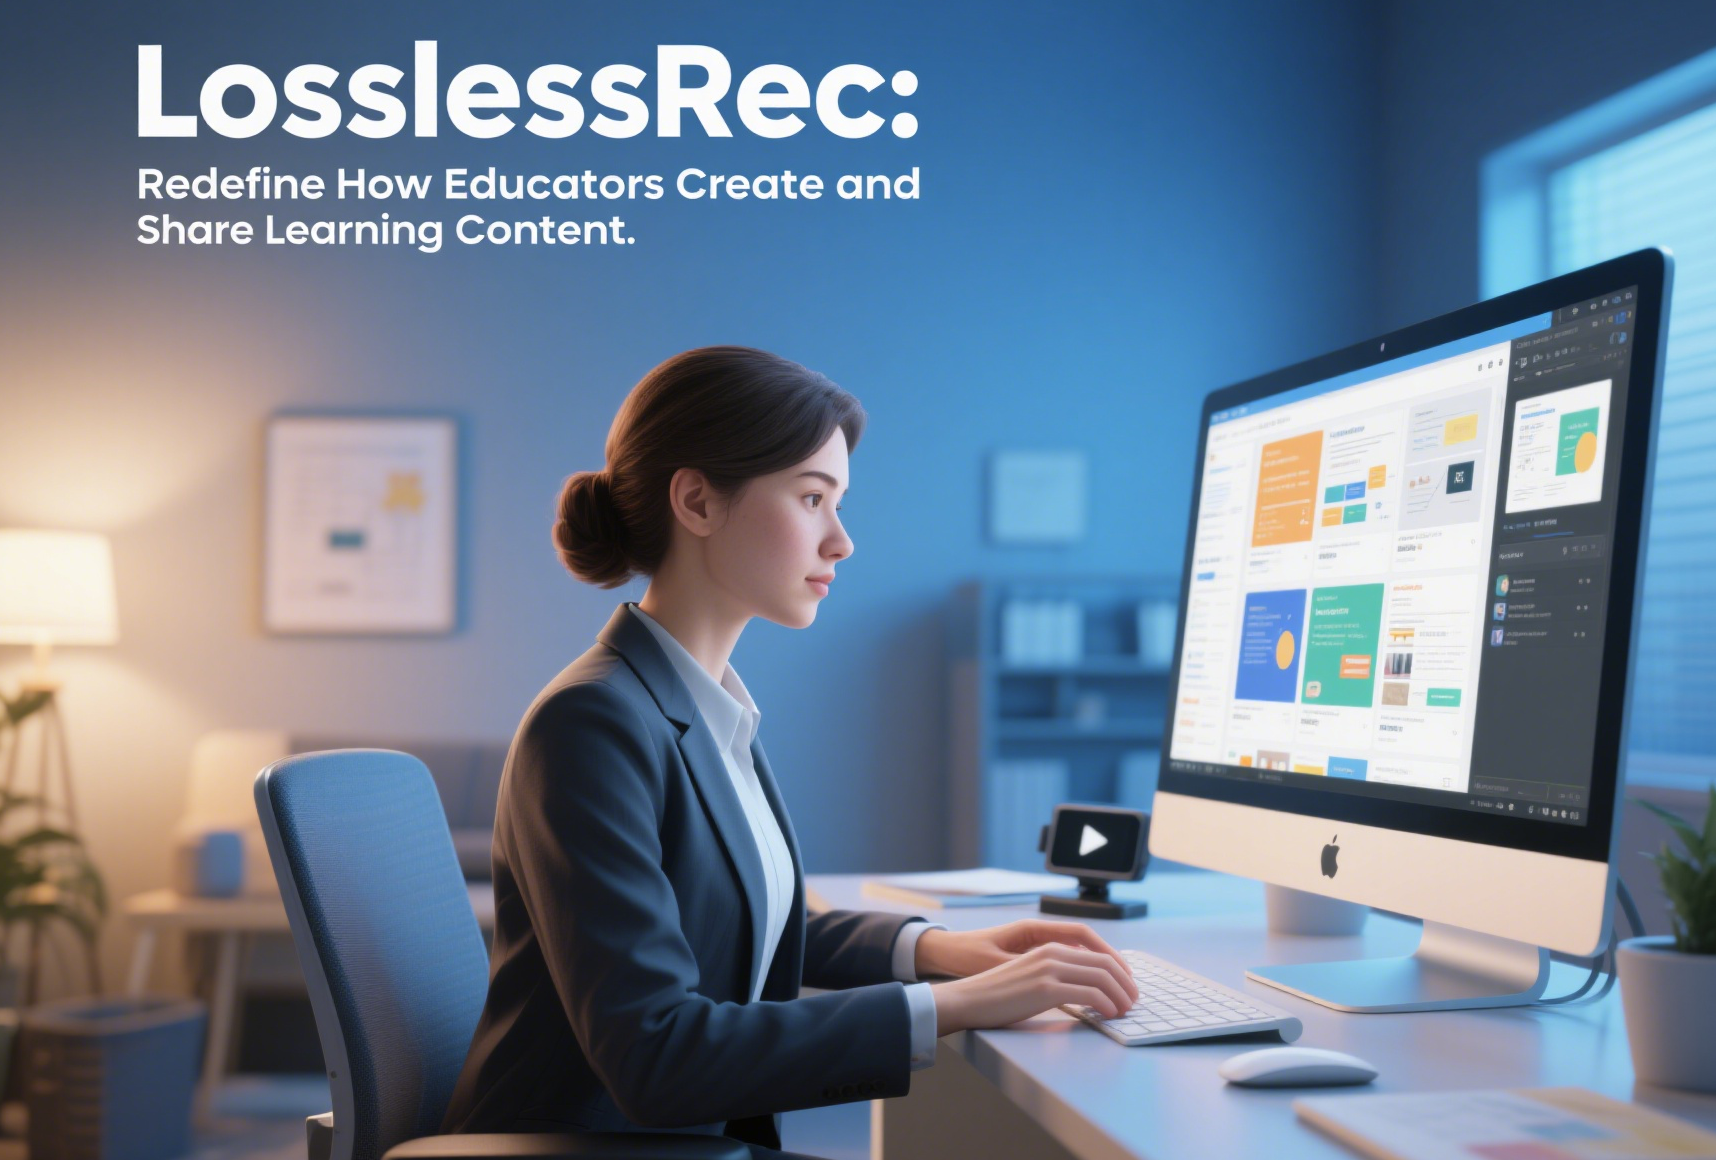
Whether you're new to online teaching or looking to improve your video creation workflow, this guide will help you produce professional-quality educational content that keeps students engaged and improves learning outcomes.

Why Record Your Online Classes?
Screen recording has become an essential tool for educators at all levels. Here's why teachers around the world are embracing this technology:
For Students
- Learn at their own pace: Students can pause, rewind, and rewatch difficult concepts
- Access anytime: Recorded lessons are available 24/7 for review before exams
- Miss no content: Students who miss class can catch up without falling behind
- Multi-language support: Recordings can be captioned or translated for diverse classrooms
For Teachers
- Save time: Record once, use for multiple classes or semesters
- Improve quality: Edit out mistakes and polish your delivery
- Flip the classroom: Students watch lectures at home, do homework in class
- Professional development: Build a portfolio of your teaching work
- Reduce repetition: Standard explanations don't need to be repeated live
Research shows: Students who have access to recorded lectures perform better on assessments. A 2024 study found that 78% of students rewatch lecture recordings, with the average student watching 2.3 times per lecture.
Types of Educational Recordings
| Type | Best For | Typical Length |
|---|---|---|
Full Lecture |
Complete topic coverage |
30-60 minutes |
Micro-lesson |
Single concept explanation |
5-10 minutes |
Tutorial |
Step-by-step walkthrough |
10-20 minutes |
Homework Review |
Assignment solutions |
10-15 minutes |
Live Session Recording |
Real-time class archive |
Full class duration |
Preparing Your Recording Environment
Before hitting record, proper preparation ensures a smooth recording session and professional results.
Hardware Setup
Microphone (Most Important)
Clear audio is more important than video quality for educational content. Students will tolerate mediocre video, but poor audio makes learning difficult.
- Budget option: USB headset microphone ($20-50) – Good enough for most teachers
- Mid-range: USB condenser microphone like Blue Yeti or Audio-Technica ($80-150)
- Professional: XLR microphone with audio interface ($200+) – Overkill for most educational content
Tip: Test your audio before recording. Record a 30-second sample and listen for background noise, echo, or muffled sound.
Webcam (Optional but Recommended)
Adding your face to recordings creates a personal connection with students.
- 720p minimum: Acceptable for face-in-corner recordings
- 1080p recommended: Clear video for a more professional look
- Built-in laptop cameras: Often sufficient for educational use
Computer Requirements
For smooth recording:
- RAM: 8GB minimum, 16GB recommended
- Storage: 50GB+ free space on an SSD
- Processor: Modern i5/Ryzen 5 or better
- Display: 1920x1080 or higher for clear recording
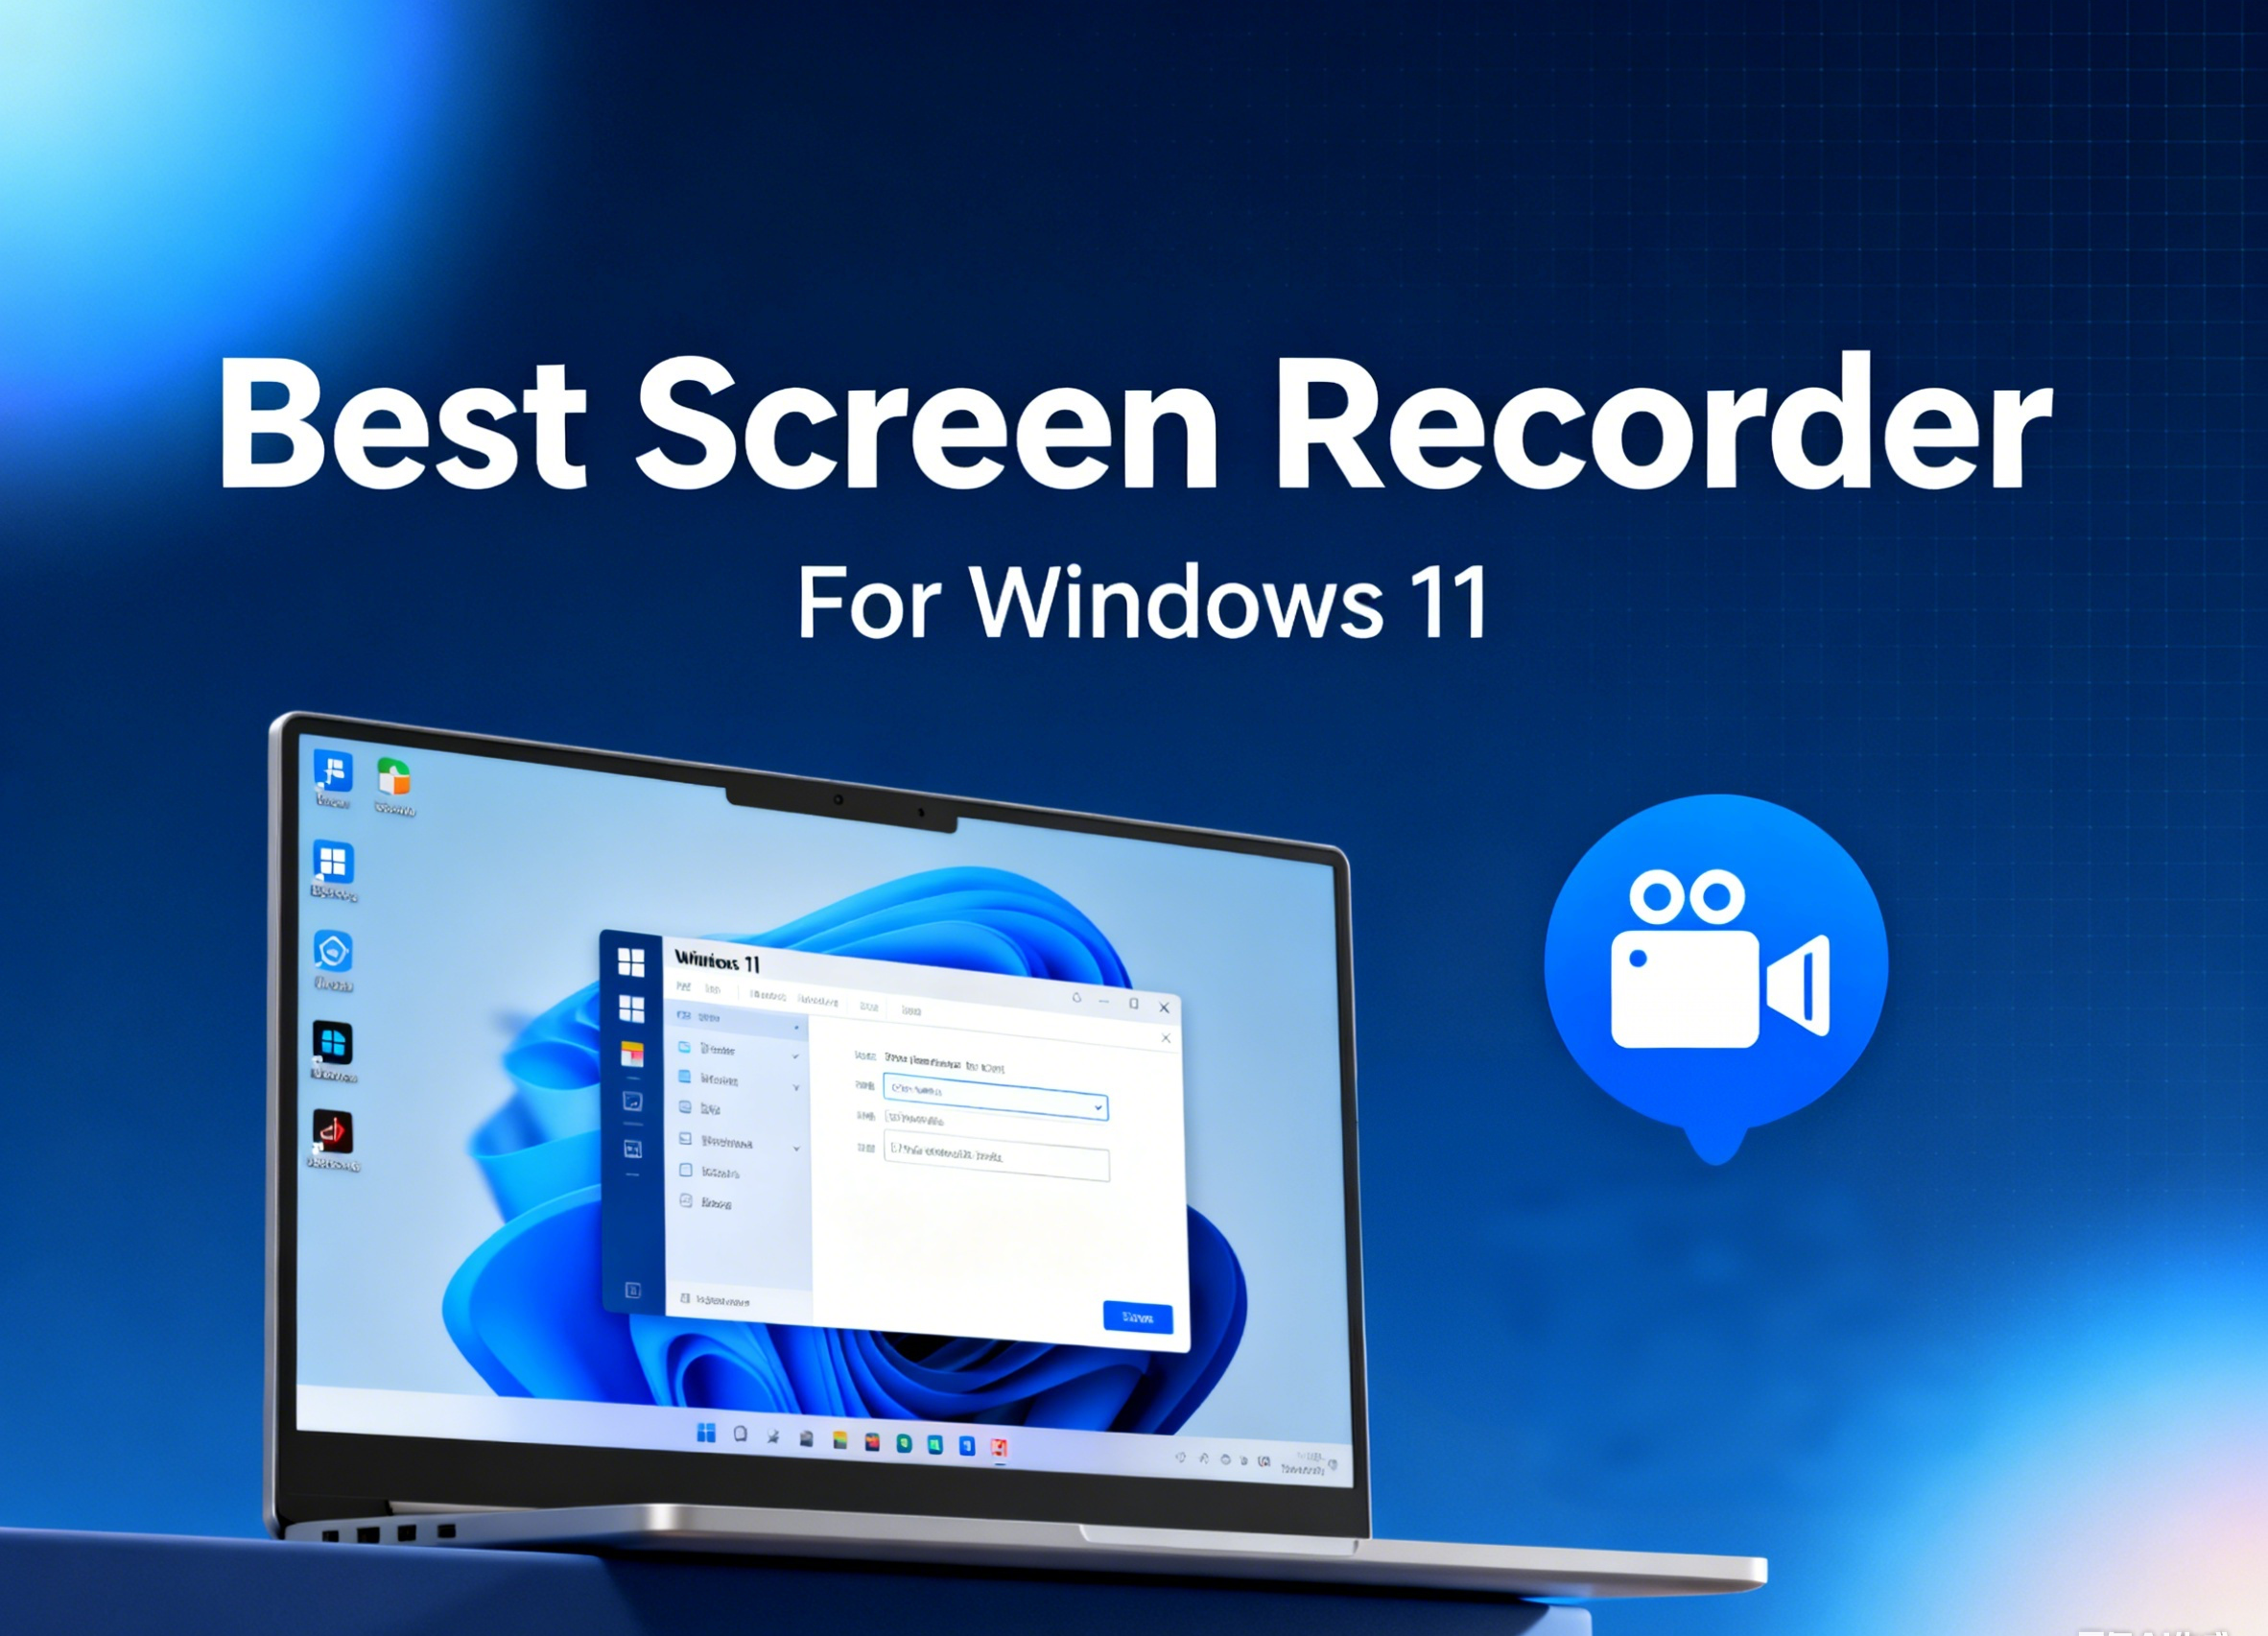
Screen Recorder Selection
Choosing the right screen recorder is crucial for your workflow. Here's what educators should look for:
Essential Features for Teachers
- System audio + microphone: Record your voice AND computer audio
- Webcam overlay: Show your face while presenting
- Drawing/annotations: Highlight important points in real-time
- Mouse highlighting: Help students follow along
- Easy editing: Trim mistakes without complex software
- Scheduled recording: Auto-record live sessions
Screen Recorder Comparison
| Software | Price | Ease of Use | Best For |
|---|---|---|---|
LosslessRec |
One-time |
⭐⭐⭐⭐⭐ |
Teachers who want simplicity |
OBS Studio |
Free |
⭐⭐⭐ |
Tech-savvy educators |
Loom |
Free/Subscription |
⭐⭐⭐⭐⭐ |
Quick videos, sharing |
Camtasia |
One-time |
⭐⭐⭐⭐ |
Full editing suite needed |
PowerPoint |
Included |
⭐⭐⭐⭐ |
PPT-only recordings |
Environment Optimization
Prepare Your Desktop
Before recording, clean up your digital workspace:
- Close unnecessary applications and browser tabs
- Turn off notifications (email, Slack, system notifications)
- Hide sensitive bookmarks or files from your browser
- Use a clean, uncluttered desktop background
- Open all materials you'll need during recording
Optimize Your Physical Space
- Lighting: Face a window or use a ring light for clear webcam video
- Background: Use a clean wall or virtual background
- Noise: Close windows, turn off fans/AC, silence phones
- Interruptions: Put a "Recording in Progress" sign on your door
Types of Teaching Recordings
1. PowerPoint/Slide Narration
The most common type of educational recording. You narrate slides while recording your screen.
Best practices:
- Record in chunks of 5-10 slides at a time
- Speak naturally, as if explaining to a student
- Pause briefly between slides for easier editing later
2. Software Demonstrations
Teaching students how to use specific software (coding, design tools, spreadsheets, etc.)
Best practices:
- Zoom in on important areas
- Use mouse highlighting to guide attention
- Explain each step clearly before doing it
- Add text callouts for keyboard shortcuts
3. Live Class Recording
Recording an actual live session with students on Zoom, Teams, or Google Meet.
Best practices:
- Inform students the session will be recorded (and get consent)
- Use gallery view for better engagement capture
- Mute students when not speaking to reduce noise
- Review and edit before sharing (remove long silences, tangents)
4. Whiteboard/Handwriting
Recording yourself writing or drawing on a digital whiteboard.
Best practices:
- Use a stylus for natural handwriting
- Write larger than you think is necessary
- Use high-contrast colors (dark on light)
Recording PowerPoint Presentations
PowerPoint presentations are the foundation of many online lessons. Here's how to record them effectively:
Method 1: Record Directly in PowerPoint
PowerPoint has built-in recording features:
- Open your PowerPoint presentation
- Go to Slide Show → Record Slide Show
- Choose "Record from Beginning" or "Record from Current Slide"
- Narrate your slides and use the pen tools if needed
- Press ESC when finished
- Export to video: File → Export → Create a Video
Pros: Built-in, free, includes inking tools
Cons: Limited editing, webcam placement is fixed, no annotations outside slides
Method 2: Use a Screen Recorder (Recommended)
For more control and flexibility:
- Open PowerPoint and start your presentation (or keep it in edit mode)
- Open your screen recorder (e.g., LosslessRec)
- Select the recording area (full screen or PowerPoint window)
- Enable webcam overlay if desired
- Enable microphone for narration
- Start recording and present your slides
- Stop recording when finished
Pros: More flexibility, better webcam placement, can annotate anywhere, easier editing
PowerPoint Recording Settings
| Setting | Recommended | Notes |
|---|---|---|
Resolution |
1920x1080 |
Match your slide size |
Frame Rate |
30 FPS |
Slides don't need 60fps |
Bitrate |
5-8 Mbps |
Higher if using animations |
Audio Quality |
192-256 kbps |
>Clear voice is essential |
Format |
MP4 (H.264) |
Universal compatibility |
Best Practices for Engaging Videos
Keep Videos Short
Research consistently shows that shorter videos improve engagement:
- Ideal length: 6-9 minutes for educational content
- Engagement drops significantly after 15 minutes
- Break long topics into multiple shorter videos
Start with a Clear Introduction
Begin each video by telling students:
- What they will learn
- Why it matters
- What they should already know (prerequisites)
Use Visual Engagement
- Annotations: Draw on screen to highlight key points
- Mouse highlighting: Help students follow your cursor
- Zoom effects: Emphasize important areas
- Webcam: Show your face periodically for connection
Speak Clearly and Enthusiastically
- Speak 10-20% slower than normal conversation
- Use vocal variety to maintain interest
- Pause between concepts to let information sink in
- Imagine you're explaining to one student, not a crowd
Include Checkpoints
In longer videos, add pauses for students to think:
- "Pause here and try to solve this yourself..."
- "Before I show you the answer, see if you can figure it out..."
- Quick quiz questions between sections
Optimal Recording Settings for Education
Video Settings
| Setting | Recommended | Why |
|---|---|---|
Resolution |
1920x1080 |
Best balance of quality and file size |
Frame Rate |
30 FPS |
Slides and tutorials don't need 60fps |
Bitrate |
5-10 Mbps |
Clear text, reasonable file size |
Format |
MP4 (H.264) |
Plays on all devices and platforms |
Audio Settings
| Setting | Recommended | Why |
|---|---|---|
Sample Rate |
44.1 kHz or 48 kHz |
CD quality, standard for video |
Bitrate |
192-256 kbps |
Clear voice without large file size |
Channels |
Mono or Stereo |
Mono is fine for voice-only |
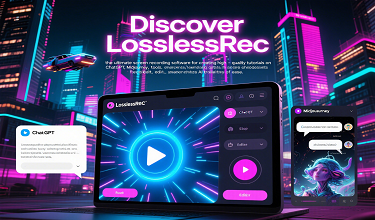
Recording with LosslessRec (Step-by-Step)
- Download and install LosslessRec from the official website
- Open LosslessRec and select "Full Screen" or "Custom Area"
- Enable audio: Turn on both "System Sound" and "Microphone"
- Add webcam (optional): Click the webcam icon to overlay your face
- Set output folder: Choose a folder with enough storage space
- Start recording: Click the red Record button or press the hotkey
- Present your lesson: Narrate your slides or demonstrate software
- Stop recording: Click Stop when finished
- Review and trim: Open the recording to check quality and trim if needed
Post-Recording Editing
Basic Edits Every Teacher Should Know
- Trim beginning/end: Remove the "okay, starting now" and fumbling at the end
- Cut mistakes: Remove long pauses, coughs, or errors
- Add title card: Include video title, your name, and date
- Normalize audio: Ensure consistent volume throughout
Tools for Editing
For basic editing needs:
- Built-in editors: Windows Video Editor (free), LosslessRec's built-in trim tool
- Free options: DaVinci Resolve (powerful but complex), Shotcut
- Paid options: Camtasia (includes recording), Adobe Premiere Pro
When to Re-record vs. Edit
| Situation | Action |
|---|---|
Minor stumble in speech |
Keep it – shows authenticity |
Long pause (>5 seconds) |
Edit out |
Wrong information given |
Re-record that section |
Technical glitch |
Re-record if severe, edit if minor |
Background noise |
Use noise reduction or re-record |
Common Issues & Solutions
Issue 1: Audio Sounds Echoey or Distant
Cause: Recording in a room with hard surfaces, or microphone too far away.
Solutions:
- Move microphone closer to your mouth (6-12 inches)
- Add soft furnishings to your room (curtains, rugs, pillows)
- Use a USB headset microphone instead of built-in mic
- Record in a closet full of clothes for instant sound booth
Issue 2: Video is Blurry or Text is Hard to Read
Cause: Low recording resolution or bitrate.
Solutions:
- Record at 1920x1080 minimum
- Increase bitrate to 8-10 Mbps
- Make sure your display is set to native resolution
- In PowerPoint, ensure slides are sized correctly (16:9)
Issue 3: Recording Lags or Drops Frames
Cause: Computer can't handle recording + other applications.
Solutions:
- Close unnecessary applications before recording
- Enable hardware acceleration (GPU encoding)
- Lower recording frame rate to 30fps
- Record to an SSD instead of HDD
Issue 4: File Size is Too Large
Cause: High bitrate or long recording.
Solutions:
- Reduce bitrate to 5-8 Mbps (still good quality for slides)
- Split long recordings into shorter segments
- Use H.265/HEVC encoding for better compression
- Compress after recording with a video converter
Issue 5: Webcam Doesn't Show in Recording
Cause: Webcam not enabled or captured separately.
Solutions:
- Enable webcam overlay in your screen recorder settings
- Check if another app is using the webcam
- Position the webcam overlay in a corner that doesn't block content
Sharing Your Recordings with Students
Platform Options
| Platform | Best For | Features |
|---|---|---|
YouTube (Unlisted) |
Long-term storage |
Free, captions, analytics |
LMS (Canvas, etc.) |
Course integration |
Student tracking, organized |
Google Drive |
Easy sharing |
15GB free, easy permissions |
Microsoft Stream |
Teams schools |
Auto captions, Teams integration |
Accessibility Tips
- Add captions: YouTube auto-generates captions; review and correct them
- Provide transcript: Export captions as a text file for students who prefer reading
- Describe visuals: Narrate what's on screen for visually impaired students
- Use high contrast: Dark text on light background (or vice versa)
Summary
Creating effective educational recordings doesn't require expensive equipment or technical expertise. Follow these key principles:
- Start with clear audio: A good microphone is the best investment
- Keep videos short: 6-9 minutes is ideal for engagement
- Prepare thoroughly: Clean desktop, test audio, close notifications
- Use the right tools: A simple recorder like LosslessRec is often enough
- Edit minimally: Focus on content quality over production value
- Share accessibly: Add captions and provide multiple formats
The best educational video is one that helps students learn. Don't let perfectionism prevent you from creating content—a slightly imperfect video today is better than a perfect video never.
Related Articles
- How to Record PowerPoint Teaching Videos
- Best Screen Recorder for Educators
- How to Record AI Tools Teaching Videos
Frequently Asked Questions
1. Do I need a green screen for webcam recording?
No. A clean, uncluttered background works fine for educational videos. Green screens are only necessary if you want to replace your background with an image. A plain wall or organized bookshelf is perfectly professional.
2. Should I record in 4K?
For most educational content, 1080p is sufficient. 4K creates much larger files and requires more processing power to record and edit. Consider 4K only if:
- You need to show small text details (code, diagrams)
- You plan to zoom in during editing
- Your students have 4K displays
3. How do I record system audio and my voice at the same time?
In LosslessRec and most screen recorders:
- Go to Audio Settings
- Enable "System Sound" to capture computer audio
- Enable "Microphone" to capture your voice
- Adjust levels so both are balanced
4. What's the best length for an educational video?
Research suggests:
- 6-9 minutes: Optimal engagement
- Under 15 minutes: Acceptable for most students
- Over 20 minutes: Engagement drops significantly
Break longer topics into multiple shorter videos. Students prefer a series of 5-minute videos over one 30-minute video.
5. Can I use copyrighted music in my educational videos?
Generally, no—even for educational purposes. Options:
- Use royalty-free music (YouTube Audio Library, Epidemic Sound)
- Create your own background music
- Use no music (often better for educational content)
- Check if your institution has a license
6. How do I add captions to my videos?
Several options:
- YouTube: Upload as unlisted, use auto-captions, then edit and download
- Microsoft Stream: Automatic captioning for Teams users
- Manual: Use subtitle editing software like Aegisub
- Services: Rev.com, Otter.ai for professional transcription
7. What if I make a mistake during recording?
Don't stress! Options:
- Pause and continue: Take a breath, then continue from where you left off
- Mark the spot: Say "let me try that again" to mark it for editing
- Re-record the segment: Stop, re-record just that part, and edit later
- Keep small errors: Minor stumbles make you more relatable
8. Should I script my videos?
It depends on your style:
- Full script: Best for precise explanations, but can sound robotic
- Bullet points: Good balance of structure and naturalness
- No script: Most natural, but requires confidence and may need more editing
Recommendation: Start with bullet points. As you get more comfortable, you'll need less preparation.